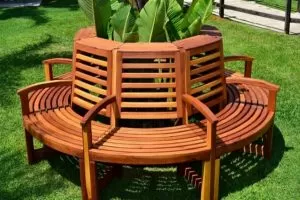
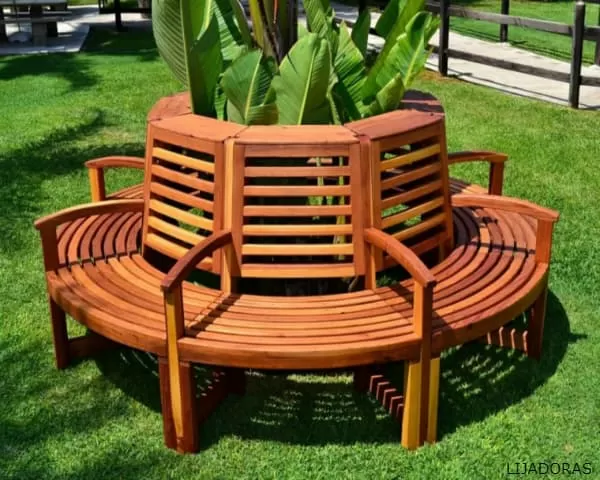
We present for you a step by step method of how to make wooden benches. The Wooden Garden Bench is a piece of outdoor furniture that is quite easy to build, many have even achieved it in just one weekend.
Prepare your wood by cutting four 4 by 4 by 16 inch corner posts, eight 1 by 4 by 48 inch pieces for the seat slats and facing supports, two 1 by 4 by 16 inch pieces and six 1 by 3 by 16 inch pieces for side supports and seat supports.
How to Make Wooden Benches
- Build the seat frame to start. Place one bracket in an upright position and connect it to a 1-inch by 3-inch side bracket, then add the opposite side and side brackets.
- The tops of the side supports will be approximately one inch lower than the facing supports, protecting the front and rear edges of the slats. Check the angle, then attach the brackets with rustproof screws.
- Place the supports of the next seat between the front and rear, starting 4 inches from each side to allow legroom.
- Place the remaining two 1-inch by 3-inch seat clamps evenly in the remaining interior space.
- Place the front and rear slats on the bench, butting them against the back of the front and rear facing brackets on the bench.
- Turn the seat upside down and place each leg in its corner firmly against the opposite support between the side support and the first seat clamp.
- Secure each leg through the face and side supports with 2-inch cover screws or lag bolts.
- Before attaching the last leg, flip the seat up and add the last leg, adjusting it so that the seat does not “wobble” before attaching it with 2-inch deck screws or lag bolts.
- Attach the lower supports to the outside of the legs, starting again with facing supports, approximately 4 inches up from the base of the leg.
- Check the level before placement, then place the two 1-inch by 4-inch side supports between the overlapping ends of the front supports. Turn the bench over and place the other seat slats on top.
- If they fit well, sand the edges so there is a little space between them to allow water to drain. Sand all edges carefully before finishing with paint or stain.
Individualize your Wooden Bench
- Creates a backrest using 4 by 4 by 36 inch hind legs (shortens the rear slat by 8 inches).
- Attach a 1 by 2 by 48 inch strip to the back legs just above the seat slats as a rear base and another at the top behind the corner posts to form a slight tilt.
- Secure a 20- by 40-inch piece of garden lattice with two more 1-by-2 pieces. Add the side pieces to frame the back.
- Add the arms by increasing the height of the front corner legs to 24 inches (shorten the front slat to 8 inches) and cut two arms 1 by 4 by 24 inches.
- Attach 1-by-2-by-3-inch support blocks to each rear corner, and fasten the arm to the top of the blocks and the front corners with deck screws or rust-resistant nails. Again, sand carefully or finish with a router to detail the edges.
Types of Wooden Benches or Stools
Wood is one of the most commonly used materials in the world, and almost any type of wood can be used to build furniture. Each type of wood has its own unique characteristics, which in turn can add different degrees of warmth, emphasis and beauty to the surrounding decor. A bench is the most minimalist design furniture we can find, it has a simple and easy to build design.
A bench is a long seat in which several people can sit at the same time. Benches are usually made of wood, but they can also be made of metal, stone or synthetic materials. Many benches have armrests and backrests; some have no backrests and can be seated from either side. In public areas, benches are often donated by individuals or associations, which may then be indicated on the bench by a small plaque. Benches are used both indoors and outdoors.
Second-hand Wooden Benches
As well as we can find wooden benches for different rooms, of different woods, for interiors and exteriors, we can also get them second hand, here are some options that we can take into account when we want to buy a wooden bench, buy a second hand one.
A Striped Dark Wooden Bench with Removable Seat
Item description: This is a traditional dark wood bench with a striped fabric upholstered seat. The seat is raised.
Dimensions: 60″ wide x 26″ high x 15″ deep
Condition: very good condition used and its price can vary from $300.
The item may have some signs of cosmetic wear; however, it is fully operational and works as planned. This item may have been displayed in the store or may have been returned to the store after being used.
Painted Wooden Stools
A wooden bench is a utilitarian piece of furniture, useful in almost any space, indoors or outdoors. The design of the bench and its finish are what give it its style and character. Stencils or hand painted designs will give that bench a bit of country style, or opt for a more aged finish for that “fresh off the farmhouse porch” look.
A coat of paint updates a wooden stool for a breakfast nook or breakfast bar. Most stools have a simple construction that allows you to paint them quickly without brushes or special techniques.
Unfinished wooden stools require minimal preparation, but even those with a coat of paint or varnish generally do not require stripping and only require a slight roughness of the old paint so that fresh coats can adhere.
The paint job only takes an afternoon, so it provides an almost instantaneous improvement to your decor
How Do You Do It Yourself ?
Sand the surface of the stool with a 220 grit sanding sponge. Sand gently to remove any irregularities in the wood without leaving deep scratches in the stool. Sand the seat and legs until they feel soft to the touch.
Wipe the stool with a slightly damp cloth to remove any sanding dust on its surface. Allow moisture in the stool to dry before painting.
Turn the stool upside down. Paint a thin coat of oil-based primer on the legs, supports and bottom of the seat, using a brush. Allow the primer to dry completely, which can take up to two hours, then turn it right side up and paint the seat.
Turn the stool upside down after the primer has dried completely. Paint the stool with oil-based paint in the desired color with a clean brush. Apply the paint in thin layers, allowing each layer to dry before applying the next. Two or three thin coats are usually needed to achieve even coverage.
Paint the bench seat after the last coat of the legs is dry. Apply two or three coats to the seat to achieve the desired coverage and color.
Pine Wooden Stools
When we talk about pine stools we must say that they are the most common in many parts of the world, since pine has many varieties, the Ponderosa, the Dulce, the Blanco and the Amarillo, and with each one of them incredible works are done.
In some areas because of the climate, pine is the wood that should be used. Pine is anything but difficult to work with and, with the argument that most of its grain is mixed, it is moderately delicate and therefore better suited for cutting.
Folding Wooden Stools
The wooden folding stool is a perfect example of a classic seat to go anywhere and do anything. This stool folds up for easy transportation. Ideal for any terrain, from sandy beaches to wooden decks to grass fields. To avoid erosion or premature temperature deterioration, we recommend indoor storage when not in use. You can clean periodically with mild soap and a soft brush, and air dry.
If prolonged exposure to moisture causes some mold discoloration, clean with a mild chlorine solution and a soft brush, rinse and air dry. Weathering is a natural part of the aging process of wood, and the patina will add character to your piece over time. To maintain the natural beauty of the wood, we recommend periodic re-application of any oil finish.
Related Topics in ALPHAPEDIA

HOW TO WEAR BLACK BOOTS ?
¿ HOW TO CLEAN TERRACOTTA FLOORS ?

HOW TO TIE MILITARY BOOTS ?
¿ HOW TO CLEAN MARBLE FLOORS ?
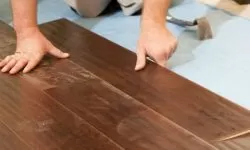
HOW TO INSTALL PARQUET FLOORING AT HOME ?
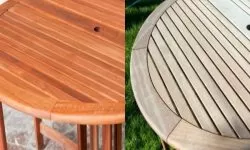
HOW TO RESTORE A WOODEN TABLE ?
Wood Related Topics in ALPHAPEDIA

HOW TO SAND WOOD With or Without Sandpaper
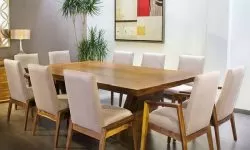
INDOOR WOODEN BENCH: Great Price on Qualified Products
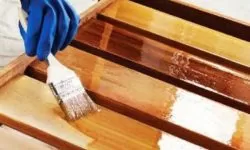
HOW TO PAINT EXTERIOR WOOD ?
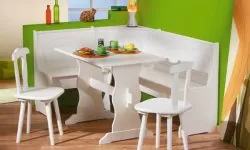
WOODEN KITCHEN BENCHES: Great Price on Qualified Products
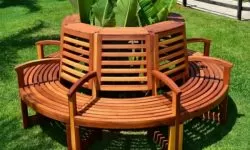
WOODEN BENCHES: Great Price on Qualified Products
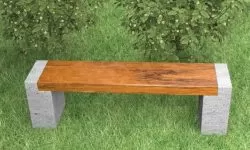
OUTDOOR WOODEN BENCH: Great Price on Qualified Products
Topics Related to Wooden Benches in ALPHAPEDIA
WOODEN BAR STOOLS: Great Price on Qualified Products
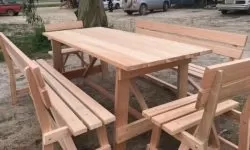
WOODEN GARDEN BENCHES: Great Price on Qualified Products

WOODEN KITCHEN BENCHES: Great Price on Qualified Products

OUTDOOR WOODEN BENCH: Great Price on Qualified Products
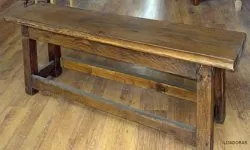
RUSTIC WOODEN BENCHES: Great Price on Qualified Products

WOODEN BENCH WITH A BACKREST: Great Price and Products
Other Topics of Interest in ALPHAPEDIA

MAESTRÍA GRATIS EN SEGURIDAD

DOCTORADO GRATIS EN MEDICINA

COLOR CAQUI: Tipos, Psicología y Significado

CURSO GRATIS DE IMPUESTOS

CURSO GRATIS DE OPTOMETRÍA

MAESTRÍA GRATIS EN TRIBUTACIÓN
Image of Wooden Bench
