How to Lay Floating Wood Parquet ?
A floating floor installation is a quick and easy DIY project. No glueing, stapling or nailing is required because the individual boards adhere to each other rather than to a subfloor, so the wood floor.
No matter how the floating hardwood is installed, a subfloor must first be installed over the floor, to give the floor additional protection against moisture and improve sound transmission.
Steps:
- Start with a moisture barrier. Placing this thin layer of plastic under the padding and wood will protect the wood from “sweat” concrete.
- Make sure the material is flat to avoid wrinkling or clumping.
- Next, place the filler over the moisture barrier. Make sure the correct side is facing up to ensure additional moisture protection. Avoid overlapping, which would create protrusions in the floor. Use masking tape to stick the filler.
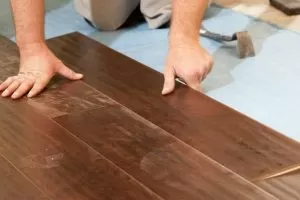
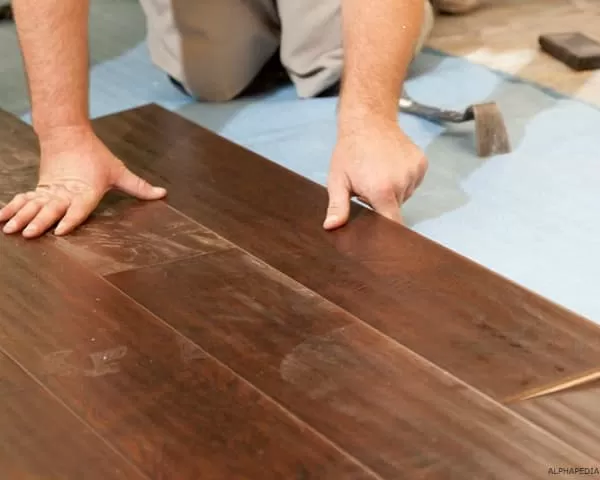
- The next step is to install the floating wood floor. The slats come in different sizes, which will create staggered joints. Because these slats have locking slots, you don’t need glue or nails.
- Place two planks together at an angle of 15 to 20 degrees, and snap them together in a straight line.
- Assemble the floor like a puzzle. Avoid aligning horizontal seams; make sure they are all staggered.
- Don’t worry about imperfect edges near the wall, as the base planks will cover that.
Related Topics
Wood Related Topics in ALPHAPEDIA

HOW TO MAKE WOODEN BENCHES ?
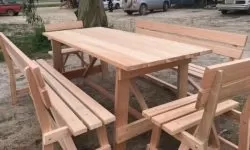
WOODEN GARDEN BENCHES: Great Price on Qualified Products
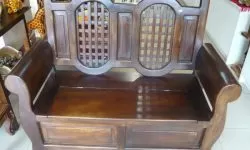
OLD WOODEN BENCHES: Great Price on Qualified Products
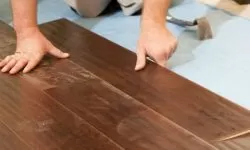
HOW TO INSTALL PARQUET FLOORING ?
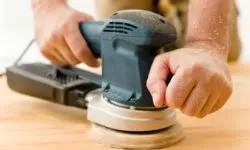
HOW TO SAND WOOD With or Without Sandpaper
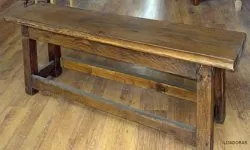
RUSTIC WOODEN BENCHES: Great Price on Qualified Products
Other Topics of Interest in ALPHAPEDIA

FREE PAINTING COURSE

FREE PhD in KINESIOLOGY

FREE BIG DATA COURSE

FREE CERTIFICATE PROGRAM IN MEDICINE

SILVER COLOR: Psychology and Types

FREE MASTER DEGREE IN ARCHITECTURE
Image of How to Lay Parquet at Home
Resumen / Summary
Título / Article Name
HOW TO INSTALL FLOATING PARQUET FLOORING ?
Descripción / Description
How to Lay Floating Wood Parquet ?
Autor / Author
Juan Carlos Franco
Autor / Publisher Name
ALPHAPEDIA
Logo / Publisher Logo

